6.3 Cylinder head work

More threads by abl567

abl567

Super Moderator
Moderator
Messages
2,181
Points
240
Location
Sydney
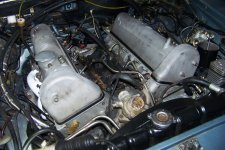
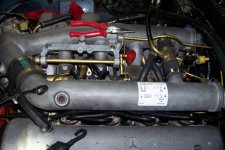
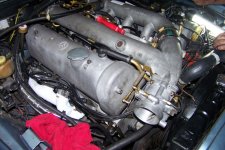
A rapidly increasing oil leak from the back of the left hand side head gasket along with worn valve guide seals on Six 3 meant it was time to pull the heads and put things right.
I thought I would post the progress and steps up here for those who are interested (and because Styria nagged me:eek:)

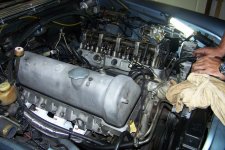
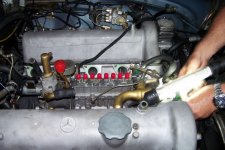
Just getting started, throttle valve and injection pump linkage removed along with intake manifold join and cold start valves fuel supply
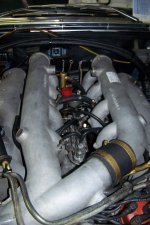
102_3256.jpg

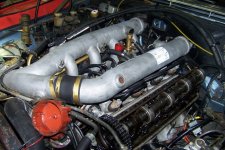
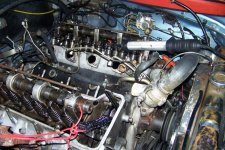
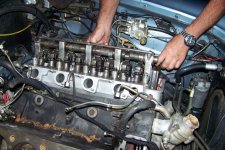
Cam covers off
102_3260.jpg

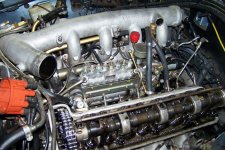
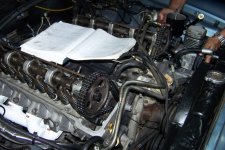
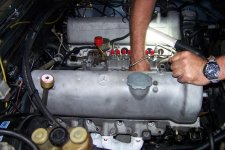
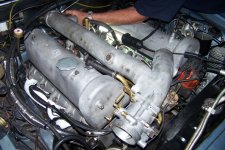
Left hand intake manifold and fuel lines from the injection pump to the injectors removed, the first of many components that come off, and go back on, one way and one way only, the part has to be manovered just the right way to clear other components
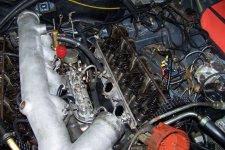
102_3262.jpg
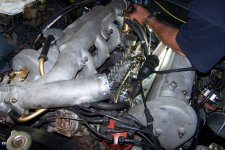
Another view
102_3263.jpg

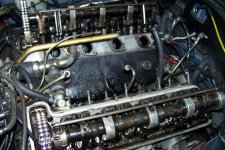
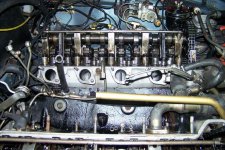
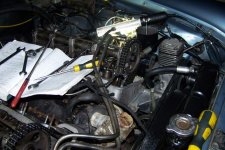
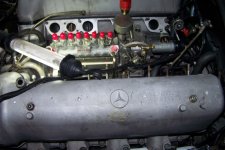
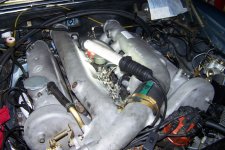
Right hand intake manifold and injection pump out of the way
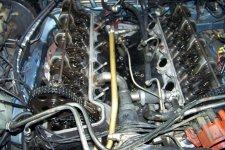
102_3264.jpg
102_3265.jpg
102_3266.jpg

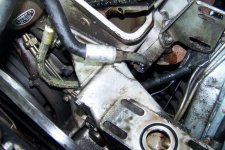
Next Job is the suspension air compressor and coupled power steering pump removal, tight access as always
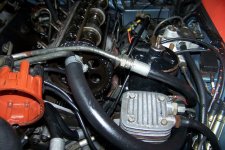
102_3268.jpg

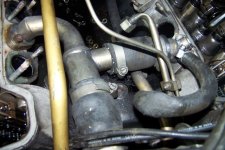
Then I removed the main coolant lines from the thermostat housing to each head, the hoses will be replaced as a matter of course as they look to have seen better days, the kinked hose you see is a bypass for the throttle body heater added as a retro fit to 6.3's when they were serviced to avoid the throttle valve icing up in cold conditions, I believe it was a factory recall.
Of course a cool dense air intake produces more horsepower so I bypassed the hot water feed;)
102_3271.jpg

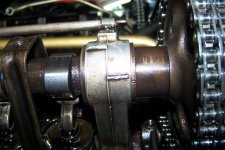
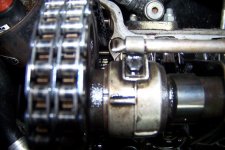
I documented the valve timing positions for reassembly
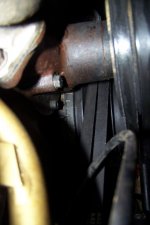
102_3274.jpg
102_3273.jpg
102_3276.jpg
Yes, it is out slightly, pics for demo only:cool:


More to follow
 
OP
abl567

abl567

Super Moderator
Moderator
Messages
2,181
Points
240
Location
Sydney
Update

Suspension compressor removed showing the oil return gallery
102_3277.jpg

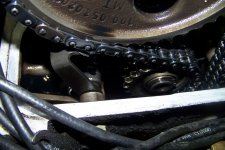
Timing chain tensioner, lovely enginnering
102_3279.jpg

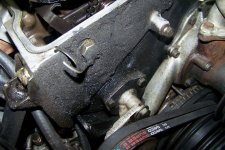
Another oil leak from the front of the right hand head
102_3284.jpg

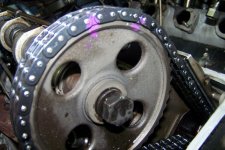
Wifeys nail polish to mark the timing chain and sprocket:eek:
I also marked them with a punch:rolleyes:
102_3285.jpg

Timing chain and sprockets removed from cams and chains secured
102_3291.jpg

The Godfathers head:eek:
102_3295.jpg

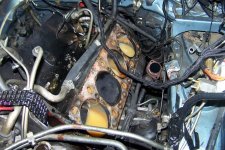
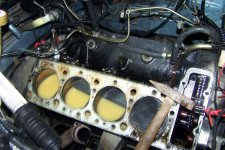
Heads removed, the liquid in the bores is coolant:eek:
102_3297.jpg
102_3296.jpg
Good thing was it didn't leak past the rings quickly (compression test prior to work was between 160 and 145 psi across the board)

I'm now ready for reassembly, heads have been done,surface grind, valves,guides and seals. More tomorrow
 

Michel

The Prince of Arabia
Moderator
Messages
10,071
Points
775
Location
Sydney, Australia
Fascinating and very impressive!

Thanks for sharing Ant.
 

Styria

The Godfather
Moderator
Messages
9,403
Points
622
Location
Sydney
Fascinating and very impressive!

Thanks for sharing Ant.

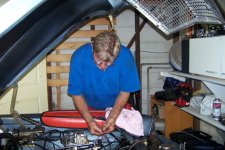
I thought, Michel, that you'd be impressed not only with the crop of hair, but also the grey-free colour and the absence of dandruff - just have a look at the cleanliness and healthy colour of the scalp ! Not bad for a 45 year old great grandfather. :D

Now to Anthony's masterpiece. It's no secret that 6.3s are not that easy to work on - in fact, they can be next to impossible. However, some clues may well be appropriate apropos to removing heads. Firstly, I do think that 6.3s are prone to external oil leakage at the back of the left hand (passenger on RHD) head. This is the second time this has occurred with this engine. Mind you, the first time was undoubtedly due to neglect on the part of a repair shop who were told to re-tighten the heads after running the engine for a period of some six hours. They didn't do that because "when we do a job, we never have to retighten the heads" - well, that's a fallacy subject to questioning.

Removal of the heads is quite straight forward as long as one has the patience to carry out a time consuming job, and as long as one is prepared to master some difficult procedures. It is important to realize that heads and exhaust manifolds need to be removed as one unit. There is just no way that the left hand units can be separated in situ. Still on the left hand side - the mounting bolt that secures the engine mounting bracket to the engine mount must be refitted BEFORE the exhaust manifold is bolted to the head. That's the left.

On the right hand side, one needs to remove the steel pipe that snakes its way down to the vacuum valve that's fitted to the right side of the gearbox. It's not easy - the location and fitting of the heater water pipe at the back of the head is, shall we say, a nightmare and there ain't no easy way to separate that pipe and the water pipe fitting from the head. There is a bit of 'man handling' involved, and with removing things, it's not that important. However, once you start re-fitting the heads, one's got to be a hell of a lot more careful. Parts are just too expensive to damage them.

Other than all of that, it's just a matter of time and patience, and a bit of know-how.

One other aspect that's been looked at is the Mechanical Fuel Injection pump - it's fair to say that it is an item that can cause the odd headache or two. However, this part of work will be covered in detail elsewhere. Suffice to say that we have found a reasonably inexpensive way of resealing those pumps, carrying out a major service and re-calibrating the pumps.

Anthony, thanks for this thread - it forms an important part of our Technical Section. Regards Styria
 

WGB

New Member
Messages
1,289
Points
0
Location
Perth Western Australia
I am very impressed by the cleanliness of the valvegear.

I guess it has had regular oil changes but it still looks like new.

What do you use for coolant that causes that milky colour to teh fluid?

My 6.9 had quite a serious oil leak from the RH camcover caused by one of the runs in the lower outside edge of the gasket drooping between fixing studs.

Fortunately fixed with a new gasket and I'm pleased I didn't have to take teh heads off.

Bill.
 
OP
abl567

abl567

Super Moderator
Moderator
Messages
2,181
Points
240
Location
Sydney
Obviously all that disassembly has to be reversed at some stage and this weekend became the time to do just that. It was slow, hard work and I am simply worn out so I'll post pics now and add dialogue later.

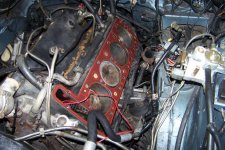
New head gasket in place
102_3390.jpg
Left head on
102_3391.jpg
Both heads on, torqued and cam timing sorted. The head bolts, 17 of them, are torqued in 4 stages, 4 mpk first time, 6 mpk second time, 8 mpk third time then 9 mpk when the engine is as 80 degrees C and has run for 6 hours as per the factory workshop manual.
102_3392.jpg
Air suspension Compressor and Power steering pump assembly installed, yes they also have been reconditioned
102_3393.jpg
It is starting to look like an engine again now, valve clearences have been set to spec
102_3398.jpg
Injection pump and manifolds next
102_3400.jpg
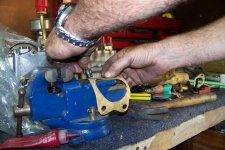
Making a new gasket for the mating face of the injection pump. Note the locktite 518 flange sealer, great stuff!
102_3401.jpg
MFIP in
102_3402.jpg
102_3403.jpg
Coolant lines going in
102_3404.jpg
RHS Inlet plenum in place, things start to get very hard to bolt down now, access is very tight
102_3405.jpg
102_3406.jpg
Both plenums on and secure, the home straight is in sight
102_3407.jpg
Throttle linkage almost done, nearly time to start up:)
102_3408.jpg
102_3409.jpg
We started the engine at 7pm on Saturday night, without the exhaust connected the the manifolds:eek: The sound of a 6.3 with open exhausts is something every car lover should experience:D
Sunday morning the exhausts were bolted up, another sod of a job, and I then fell in a heap from exhaustion.
Final tuning to come, then it is time to go WRX hunting.
 

Styria

The Godfather
Moderator
Messages
9,403
Points
622
Location
Sydney
It's one of those jobs that seems to be never ending, and in a number of ways quite awkward. Anthony carried out this work under somewhat less than ideal working conditions. Sure, he has garage space, but not a lot of spare room. Working up on top is fair enough, but when it comes to changing engine oil and filter, and connecting up the engine down pipes and the steel vacuum pipe to the modulator, that is another matter altogether. Jacking up the car, getting under it, and then connecting up the various components - it's not something I like doing.

By all accounts, the engine appears to be in terrific condition, and thats certainly heartening news. We rebuilt that engine probably about ten years ago, with new rings, bearingsa etc. as it had been standing for about ten years.On disassembly, we found rings that had slightly rusted in their grooves, and it turned out to be a prudent decision in the end to disassemble the engine. There was one thing very, very peculiar, and keep in mind that the engine had not previously been touched.

Nos. 2 and 6 pistons were four ring pistons, the others of the later type three ring variety. That was astounding, peculiar and defying explanation. So we decided to weigh the two pistons, as well as the matching conrods, and compared the readings with the other pistons and conrods. There was considerable difference in weight between the four and three ring components, but when pistons and rods were weighed together, they were almost perfectly matched. So that was great, but even to this day we are still at a loss to explain this anomaly.

Anthony, it's great that you have the engine running now - may I suggest that when the time comes to retorque the heads, that you go that extra yard and change engine oil and filter again. That could be of considerable benefit. I changed oil and filter on Gleaming Beauty about two or three times after the valve grind and de-coke two years ago. It just made me feel better in thinking that I had gotten rid of any impurities. Thanks for the comprehensive pictures. Regards Styria
 
OP
abl567

abl567

Super Moderator
Moderator
Messages
2,181
Points
240
Location
Sydney
I'm pleased to report that other than a oil leak from the side cover of the injection pump Six 3 is running really well.
The source of the injection pump leak?
The gasket is installed upside down:mad: a tiny bit of attention to detail by the pump rebuilder would have avoided me having to remove the LHS intake manifold and injection lines to refit the gasket, another 4 hours work...
That aside the pump is performing as it should.
 

Similar threads

Top